
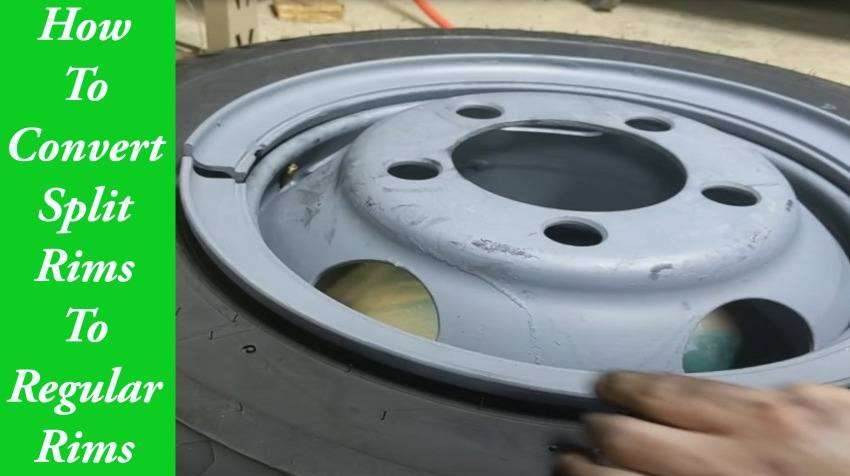
Split rims can cause several hazards, including releasing rotating parts of the wheel at high speeds. To reduce these risks, split rims must be converted to regular edges with a safer grip.
You must deflate the tire and loosen the ‘D’ section bolts that hold the multi-piece wheel together in order to convert the rims. Simply unscrew the standard bolts that hold the split rim to the hub and replace it with a classic one-piece regular rim.
Safety precautions should be taken whenever handling split rims. You will find helpful tips in this article on how to convert split rims to regular rims.
Can You Convert Split Rims To Regular Rims?
Yes. You can convert split rims to regular rims with the right tools and skills. However, it’s worth noting that not all split rim design is convertible to standard rims.
Get the best regular rim from your car dealer to fit in the hub. By replacing the split rims, you provide a safe environment for yourself and other road users.
Consider having your mechanic assist in changing the split rims to regular ones for the heavy machines.
How To Convert Split Rims To Regular Rims?
Have the right tools at your disposal for a smooth process. Several types of split rims are available, but they all have a similar replacement procedure, as discussed below.
Tools needed
- A jack
- Lug wrench
- Wheel lock
- Regular rims
- Valve core remover
- Screwdriver
- Pry bar
Purchase the right regular rim that will fit in the hub perfectly. Since split rims are found in most heavy-duty machines, get a friend or mechanic to help through the process.
Step 1 – Lock the wheels and jack the vehicle
This is the first safety control measure to help maintain the vehicle in one position. Use the wheel lock on the other wheels as you operate on one wheel.
You can improvise a wheel lock by using large stones or logs that won’t slide upon jacking the vehicle.
Jack the vehicle at one point next to the wheel you are converting. Ensure the wheel is suspended and can rotate without hindrance. Ensure you jack the car at a solid end to avoid failure.
Step 2 – Unscrew the wheel
With the vehicle jacked, use the lug wrench end with the socket to loosen the lug nuts. Apply enough force with care to avoid slipping the socket that can injure or damage the bolts.
Carefully pull the wheel out and place it on a flat surface. For the double wheels, unscrew the ‘D’ section nuts to separate the two wheels. The wheels are now ready for rim conversion.
Step 3 – Remove the valve core
Before loosening the screws and bolts, use the valve core remover to remove the valve core to deflate the tire. Rotate the valve core remover in an anticlockwise direction to remove the core. This will help reduce the pressure on the lock rings.
Be careful while deflating, as the lock rings may dislodge and injure you. Deflate while at a distance with the tire covered with some strong bars.
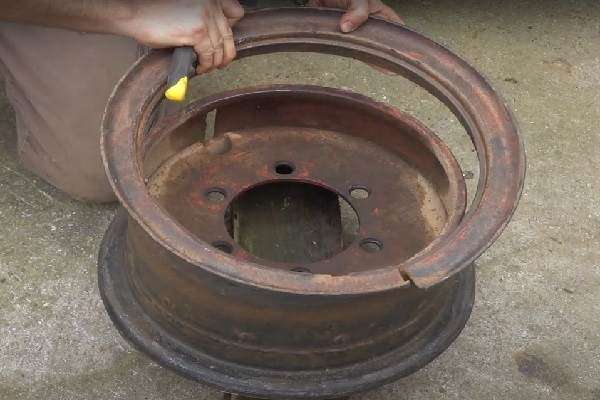
Step 4 – Pry the rim off
To remove the split rim, release the lock rings that hold the rim pieces together. Since the tire is deflated, knock the locks off with the help of a hammer and screwdriver.
Be careful as the split rings may explode on removal due to the spring effect and force acting on them. Remove the side flange ring and split the reversible clamp ring to allow easy detachment of the rim and the beads.
Use the pry bar and the screwdriver to pry off the rim. Lubricate the edges of the bead for a smooth detachment. You can also use a manual tire changing machine to help increase your safety. Once the split rim is removed, get the solid modern rim to replace it.
Step 5 – Fix the regular rim
Get your new rims and install them on the tire. You can also consider using regular used rims still in good condition.
Use an automatic tire mounting machine to save on time and energy. Apply oil lubricant on the outer edge of the rims and the tire bead for ease of installation.
Set the rim on the tire mounting machine at a sliding angle of 45 degrees and halfway force the tire into place. Ensure the edge is facing up, and then engage the hydraulic press. The rim will set in with ease as the machine rotates.
You can also fix the regular rim using the pry bar and a screwdriver as you step on the tire to set the bead to the edge of the rim.
Step 6 – Fix the valve core and inflate the wheel
With the help of a pair of pliers, pull the nozzle and use the valve core installer to fix the core back into position.
Set the inflating machine to the standard air pressure gauge and inflate the tire. Inflating the tire will ensure the bead sits nicely on the edge of the rim tightly.
Step 7 – Fix the wheel on the hub
With the car in a jacked position, fix back the wheel. Hold the wheel into place using the lug nuts and screws.
Tighten the nuts using the socket lug wrench. Remove the jack to release the vehicle back to the ground. Do the same for all wheels and convert the split wheels to regular rims.
How Much Does It Cost To Convert Split Rims To Regular Rims?
Most people think converting your split rims to solid modern ones is way too expensive.
Let’s see the figures. Converting split rims to regular rims will cost you between 250$ to 900$ for one wheel or 800$ to 2500$ for the entire vehicle depending on the type of rims you use.
When budgeting for the total cost, consider the type of rims you want to have fixed. Also, weigh on the mechanic price if you won’t be doing it yourself.
To reduce the cost, you can fix the rims at the garage without hiring a mechanic. However, you need to have the necessary skills and tools. Ensure you exercise caution as the rims can dismantle if wrongly fixed. The rings can explode and cause injury or even death.
Despite the high cost of split rim replacement with the regular rims, you will enjoy the safety standard rims offer.
Benefits Of Converting Split Rims To Regular Rims?
Converting split rims to regular rims is a boost for any modern vehicle. Below are some benefits you stand to enjoy with the solid modern rims.
Safety
The one-piece wheel is safer to work with compared to the split rims. These regular solid rims do not suffer the risk of failure and explosion since the rim is one whole system joined to the hub.
With the split rims, the locking ring can dislodge and lead to massive destruction through the explosion of the split pieces. The dislocation can lead to fatal death.
The wheel can operate with a deflated tire
Sounds impractical? However, unlike the split rim that has to operate when fully inflated, the regular solid rims can be used when deflated as you seek a gas refilling station.
For the split rims, the locker rings are held into position by the pressure exerted on them by the inflated tire. If the tire deflates, the locks become loose and can dislodge, causing wreckage.
Can inflate the tire without jacking
You can comfortably inflate tires with the regular rims while still on the ground without jacking the vehicle. This is made possible because the rim is one complete system; hence the inflation is done uniformly.
In the split rims, you need to jack the vehicle to facilitate uniform inflating to avoid dismantling the split pieces.
Last but not least, the regular rims give the driver the confidence to drive without worrying about a possible failure of the rim. This helps reduce accidents on the roads.
Conclusion
With a regular modern rim, you are assured of a safe drive for you and other road users. Check-in with a mechanic to determine the correct size and design of standard rim to purchase to replace the split rims.
Follow the above procedure on how to convert split rims to regular rims with ease. Use the safety control measures when operating on a split rim, as any failure can lead to fatal injuries or even death.
For first-timers, consider asking for help from your local car technician when changing the rims in a heavy-duty machine.