
If you own a car from the ’90s, it’s agreeable that the vehicle has lost its true glossiness by now, right? So, it needs polishing.
Note here that almost all old car models are single stage painted cars, which is very different from modern automotive finishes. And, recent cars don’t have single-stage paints; only the older models do.
So, how to polish single-stage car paint? Well, the sanding and the polishing steps are not much different from double-stage painted cars. But, so many things could go wrong if you don’t have detailed knowledge of this process.
That’s why, for you, here we have brought a detailed description of how you can polish single-stage car paint with ease.
What Is Single Stage Paint?
A single-stage paint job is a type of painting procedure that involves applying the necessary chemicals and paints to a vehicle in one single step.
Meaning that in this particular painting process, the appropriate chemicals and the paint are mixed together into a single mixture. And then, the mixture is applied to the car’s surface at once.
Now, it should be noted that modern automotive finishes are not single-stage paint jobs. Rather, in modern vehicles, the paint is applied in the first step, and a glossy clear coat finish is applied to the vehicle in a separate step.
That’s the reason why single-stage painted vehicles of the old days look inherently different from modern-day vehicles.
Does Single Stage Paint Need Clear Coat?
No, you will not need a clear coat on a single-stage paint job. It’s because the clear coat finish chemicals are already mixed together with the paint in the single-stage painting process.
Because of that, the clear coat is automatically applied when the paint job is done, thus, eliminating the need for a separate clear coat job.
Now, because the color particles and clear coat are mixed together and applied in one shot in a single-stage paint job, the clear coat tends to be less permanent than it would be in two-stage paint jobs.
That’s why, although it’s not required, you can add an extra layer of clear coat on a single stage painted car. However, it will cost you a lot. And that’s also exactly why single-stage paint jobs are less economical than two-stage paint jobs.
Can You Polish Single Stage Paint?
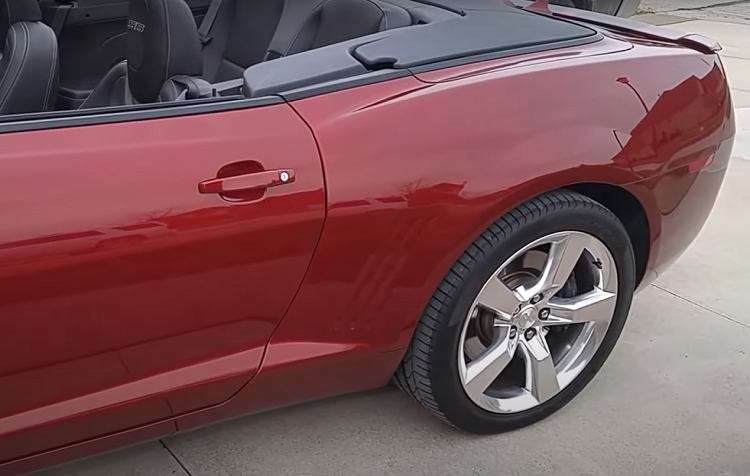
Yes, you definitely can polish up your single-stage painted car. However, this is a very tedious process. On top of that, you’ll need to be extra careful not to damage the old paint job in the process of polishing. But, no matter how difficult the polishing job may be, it is always worth the time to do it.
It’s because doing a polish on a single-stage paint job immensely changes the appearance of a car. As a result, if you do the polishing on your single-stage painted car in the correct way, you’ll feel like you just gave your car a new paint job.
Furthermore, polishing the single-stage paint of your car will make its surface clearer and smoother. As a result, you won’t have to do a new paint job for a long time. Also another thing to note here is that polishing the single-stage paint is a very low-cost process. Means you don’t have to spend a huge chunk of money polishing your single-stage painted vehicle.
Rather, if you have some basic tools and the right set of chemicals (which can conveniently be bought from your local stores), you can do the polishing at home. Therefore, it is our wholehearted recommendation that you give a thought to polishing your single-stage painted vehicle after it’s been used for multiple years.
How To Buff And Polish Single Stage Paint?
As we have mentioned above, the polishing of a single-stage painted car is not a simple process. To be more specific, you have to sand and buff through the single-stage paint first and then run a second round of polishing with proper cautions.
And, this whole job takes about two to three days to finish. However, once you are done buffing and polishing your single-stage painted car, you’ll really appreciate the effort you have put in here.
It’s because, again, buffing and polishing your old car will completely renovate the outlook of your car. More specifically, your car will not look at all like it’s an old vehicle. Rather, it will seem like a car model of recent days.
Now, to make the polishing job easier for you, here’s the list of materials that you’ll need to have at hand before beginning the polishing process.
Materials You Will Need
- Gtechniq W6 Iron & General Fallout Remover
- Gtechniq – W4 Citrus Foam
- Foaming Agent which Removes Dirt and Road Grime
- Meguiar’s M10532 Mirror Glaze Ultra-Cut Compound
- Meguiar’s Mirror Glaze Show Car Glaze
- An orbital machine
- Presta PACE Orange Foam Medium Cut Pad
- Purple Power (4320P) Industrial Strength Cleaner and Degreaser
Note: You can use the exact products that we have recommended here. Or, you may also choose to use the chemical compounds that we have mentioned here from other brands as well.
The point is that you have to use the chemical compounds that we have mentioned here. However, whichever brand/manufacturer you choose, it’s up to you.
Step By Step Guide On How To Polish Single Stage Car Paint :
In this section, we’ll go over the discussion of how you can use the above-mentioned items in the process of polishing and buffing your single stage painted vehicles. Pay careful attention here:
1. Removing Dirt And Rust
In the first stage of polishing your single-stage painted car, you’ll have to take action to remove the residual surface rusts or paint rust that has accumulated on the car over the years.
In order to do that, you have to use the Gtechniq W6 Iron & General Fallout Remover as a spray. And, when the Gtechniq W6 Iron & General Fallout Remover is fully sprayed on the car, you will have to let the fallout remover sit on the car for half an hour.
After that, you can use an ordinary fabric or towel to remove the fallout remover spray, along with all the rusts that have been accumulated.
2. Second Round Of Surface Cleaning
Next, after removing the dirt and dusts off the surface of the car, you’ll have to run another round of surface cleaning by using the Gtechniq – W4 Citrus Foam – High Content.
The application and removal procedure of this chemical is the same as the above one. This means you just have to first spray the citrus foam on your vehicle and remove it with a piece of fabric after a while.
3. Primarily Buffing The Car Surface
At this point, it’s time to start buffing the car with an orbital machine and a foam pad. So, go ahead and install a foam pad such as the Presta PACE Orange Foam Medium Cut Pad to an orbital machine.

Then, use a glazing compound such as the Meguiar’s M10532 Mirror Glaze Ultra-Cut Compound on the foam pad. After that, start the orbital machine and start applying the rotating foam pad to the car’s surface.
This way, you can complete buffing through the whole area of your car’s exterior within a very short amount of time. As a result, your car should get a more shiny and glossy outlook.
4. A Second Round Of Buffing
Once you are done with the first round of buffing on your car’s surface, it’s time to use the Meguiar’s Mirror Glaze Show Car Glaze on the foam pad to provide a second round of buffing on your car.
After doing a second round of buffing on your car’s surface, your car will get glossy and glazing to look like nothing ever before. So, take time in this step and use the orbital machine to pump throughout the whole surface area of your car’s exterior.
5. Cleaning The Foam Pad In The Process
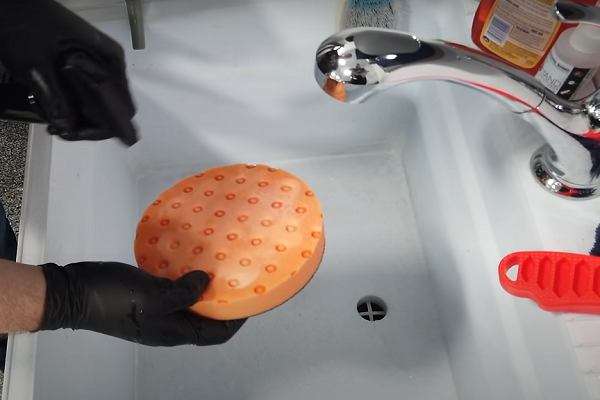
Now, when you are buffing through the surface of your car, you may see that some paint from your car’s surface has gotten stuck to your foam pad. In fact, it is normal to see your foam pad completely getting stained with displaced paints.
However, do not get discouraged by seeing paints stuck on the foam pad. Rather, use a degreaser such as the Purple Power (4320P) Industrial Strength Cleaner and Degreaserto remove the paint particles that are stuck to the foam pad, and continue buffing through until you’re completely done.
And finally, after you have covered the whole surface area of your car’s exterior, you should notice that your car has gotten a new look (a shinier and glossier look).
And that’s the cue to understand that you’re done polishing your single-stage painted car.
Read Also: Top 7 Best Wax for Single Stage Paint In 2022
How Do You Make Single Stage Paint Shiny?
In order to make your single-stage paint car shinier in terms of appearance, you need to conduct the sanding and the polishing processes on the car’s exterior. That can be done with a foam pad and an orbital machine.
However, you’ll have to use specialized chemicals such as the Meguiar’s Mirror Glaze Show Car Glaze in the process of buffing through in order to make the car truly glossy and shiny.
How To Protect Single Stage Paint?
If you want to protect your single-stage paint during the time of polishing, the first and foremost step that you have to take is to be careful when you are buffing through the edges of your car. Why?
Well, in most cases, corrosion and paint rust occurs in those areas where the single-stage paint is very thin. And the car edges are the areas where single-stage paints are most thin.
That’s why, if you really want to protect your car’s single-stage paint in the process of polishing and buffing through, you have to abstain from buffing through those areas which have thin paints (such as the car edges).
Furthermore, if you want to protect the single-stage paint, another step you can take during the time of polishing is using the orbital machine at a very low RPM. This means rotating the foam pad slowly and steadily instead of rotating it with a high number of revolutions per minute.
That, in turn, makes sure that you’re not accidentally displacing too much paint from your car’s surface.
How Long After Single Stage Paint Can You Buff It?
After you have done a single-stage paint job on your car, you have to wait at least 24 hours for it to completely cure, so you can buff it later on. Remember, if you don’t give enough time for the paint to stick to the car’s surface (and completely cure), buffing on it will just displace the color.
That’s why we recommend that you stay patient and do not start buffing before 24 hours have passed after the single-stage paint job.
However, it’s even better if you can wait longer than that. For instance, it’s more secure if you can wait 48 hours before buffing through the car’s surface. The more you can wait, the more the single-stage paint can sit on the car’s surface. As a result, The more you can wait before buffing, The more artful the polishing job will be.
Conclusion
As you can see above, polishing on a single-stage paint job is not work that you can do in a hurry. Rather, you have to take your time and steadily go through the steps of polishing and buffing your car one by one.
If you can manage that, you can rest assured that your paint will not be harmed in the process of polishing. Furthermore, you’ll be able to achieve a completely new appearance on your old car.
Lastly, don’t forget to wear safety gloves during the time of polishing your single-stage painted car. That way, you can complete the polishing job safely and artfully. Best of luck!
